Solar lights are a popular option for many households due to their environmentally friendly and cost-effective nature. Over time, these lights may face some technical difficulties that could potentially affect their performance, and resetting them becomes necessary. This article aims to guide you through the process of resetting your solar lights.
Understanding When to Reset Your Solar Lights
Before resetting your solar lights, it’s crucial to identify the problems that might necessitate this action. Common indicators that your solar lights need a reset include:
- The lights not turning on at night.
- The lights turning off too soon or not lighting up as bright as they should.
- The lights failing to charge during the day.
- Sudden change in weather conditions.
If your solar lights exhibit these issues, it’s time to reset them.
Below is a step-by-step guide on how to do so.
Related Article: 12 Reasons Why Your Solar Lights Not Working & How To Fix
Steps to Reset Your Solar Lights
1. Turn Off the Solar Lights
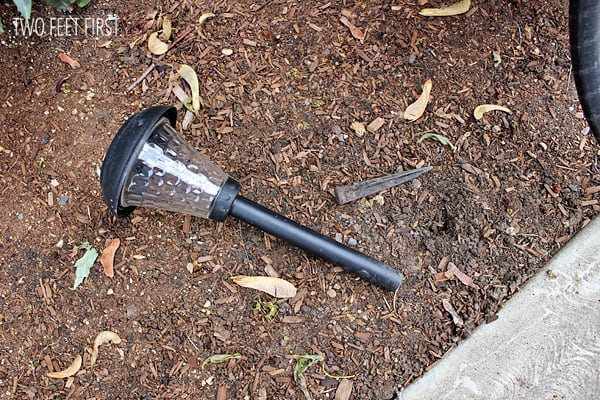
The first step is to switch off your solar lights. Most solar lights come with an “ON/OFF” switch, usually located at the bottom or back of the light or inside the lamp’s cover. If your solar light doesn’t have this switch, it might automatically turn off when you remove its cover.
2. Leave the Lights Off
After turning the lights off, leave them in this state for a few seconds to a minute. This brief pause allows the solar lights’ internal circuitry to reset itself.
3. Charge the Solar Lights
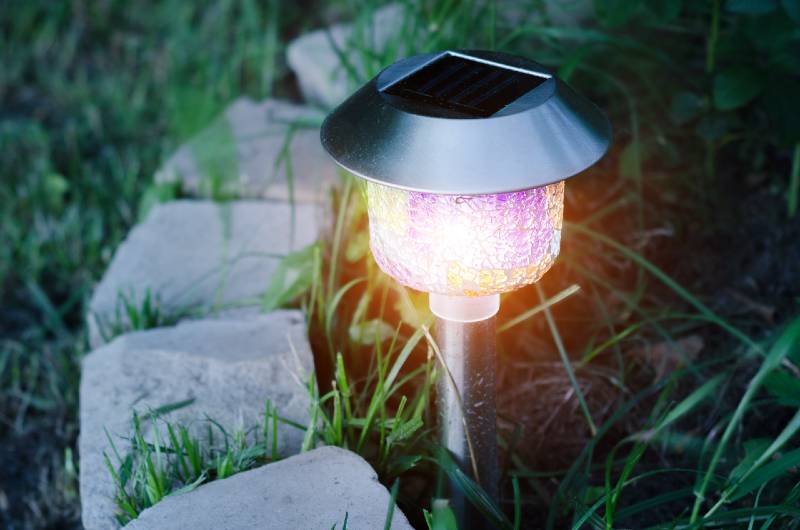
During daylight hours, expose the solar lights to as much sunlight as possible. Place them in an area that receives direct sunlight for optimal charging. The sun’s rays will recharge the batteries in the solar lights, ensuring they have enough energy to function when night falls.
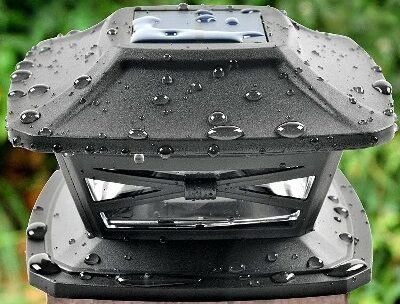
Ensure that the solar panel is clean and free of dust, dirt, or snow, as these could hinder the charging process. A soft, damp cloth should suffice for cleaning the solar panels.
4. Turn the Lights On
Once the solar lights have had ample time to charge (a day should be enough), switch them back on. If the problem was minor, this process would likely have resolved it.
Troubleshooting Persistent Issues
If the above process does not solve the problem, you might be dealing with more than just a minor glitch. Here are additional steps to troubleshoot persistent issues:
1. Check the Batteries
Solar lights use rechargeable batteries to store energy. If your lights still don’t work after a reset, the batteries may be at fault. It’s possible they’ve deteriorated or aren’t holding a charge anymore. In this case, you’ll need to replace the batteries.
2. Assess the Solar Panel and Light Placement
Ensure that the solar panel isn’t positioned in a shaded area or directed towards the sun’s path. Similarly, consider whether the lights themselves are installed in a place where they can effectively illuminate your desired space.
3. Consider the Weather
Solar lights are not as effective during the winter months or overcast weather as solar panels are less able to absorb sunlight. If it’s not an issue with the lights themselves, you might need to wait for more favorable weather.
Conclusion
Resetting your solar lights is a simple and often effective way to restore their functionality. However, if the problem persists, it may be best to consult with a professional or reach out to the manufacturer’s customer support. Remember, regular maintenance, including cleaning the solar panels and replacing the batteries as needed, can extend the life of your solar lights and keep them shining brightly.


My solar lamp works opposite time during the day it rurns the light on then at night it does only with sensor, how can i reset it to work properly on time?
Was it like that when you bought it? It appears either the sensor is installed backwards or the light sensor sensitivity is so high. Please, refer to our article on how to fix solar lights and get back to me with any questions you may have.