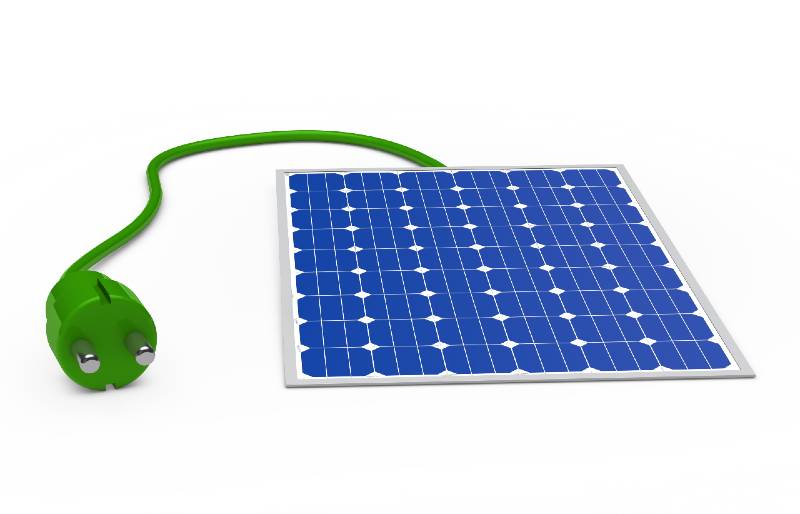
Solar panels are a great way to reduce your energy cost and decrease your home’s environmental effect. However, many people find the solar panel installation cost an obstacle for them.
Therefore, in this article, we are going to show you how to make a solar panel with household items including:
- How to make a solar panel with CD
- How to make a solar panel out of aluminum foil
- How to make a solar panel out of soda cans
- How to make a solar panel with blades
Don’t worry the steps are very easy and anyone can do it just follow these steps carefully and you will get your DIY solar panel.
1. How to make a solar panel with CD

Tools to make a solar panel with CD
- CD
- Zener diodes
- Copper wire
- Insulated electrical wire
- glue
- Soldering iron
- Wire cutters
- voltmeter
Step 1: Glue the copper wire into the CD
Simply glue the end of the copper wire near the center hole of the cd, then extend the copper wire to the end of the cd, then bring it back to the center.
Repeat this step while gluing each copper wire to the cd until you cover most of it.
In the end, the cd should look like a flower.
Note: Make sure to leave the copper wires till they dry before proceeding to the next step.
Step 2: Attach the zener diode
Now after the copper wire is dry, it’s time to attach the Zener diode to the gaps between a portion of copper wires.
To do this, just solder the ending of the Zener diode to the ends of the copper wires and make sure to leave one end free, as will use it later to connect the insulated wires.
Step 3: Connect the insulated wires
After we attaching the Zener diode, the next step would be connecting the insulated wire to the copper wire end we left before.
Just solder the ends of the insulated wires to the ends of the copper wires and that’s it, your solar panel is ready to be tested now.
Step 4: Test the solar panel
Now after getting everything ready, it’s time to test our panel.
We can do this by simply putting our diy solar panel in a sunny spot and use a voltmeter to test it.
All you need to do is to connect the insulated wires in your solar panel to the wires of the voltmeter.
If you did everything right, the voltmeter will read current when the panel is in the sun, and if you covered your solar panel, the voltmeter should read little to no current at all.
And that’s it, now you know how to make a solar panel with CD.
2. How to make a homemade solar panel out of aluminum foil

Tools to make a solar panel out of aluminum foild
- glass
- Aluminum foil
- Copper wire
- Insulated electrical wire
- Soldering iron
- Wire cutters
Step 1: Glue the copper wire into the glass
First thing try to get a glass with a shape of a square, put the copper wire to the end of the glass and extend it to the other end, then glue the copper wire to the glass.
Repeat this step until you cover all of your glass.
Step 2: Cover the glass with aluminum tin foil
After covering all your glass with copper wires and leave it dry, now it’s time to cover the glass with Aluminum foil.
Try to cut a piece of tin foil bigger than the glass and cover all your glass with it.
Note: Make sure that both the ends of the copper wires are appearing, so you can attach them to power your appliance.
Step 3: Test your tin foil diy solar panels
after we got our panel ready it’s time to check it, so it’s time to attach the copper wires to the wires of your voltmeter.
Put your panel somewhere sunny, and you will notice that the voltmeter is reading current.
And that’s it, you just made a homemade solar panel with tin foil enjoy it.
3. How to make a solar panel out of soda cans

Tools to make a solar panel with soda cans
- soda cans
- Silicon adhesive
- Plywood or sheet metal
- black spray paint
- Polycarbonate sheet
- Tubes for air intake and output
- Exhaust fan or air pump
Step 1: Cut your soda cans
The first step to make a diy solar panel with household items is to cut your soda cans, the number depends on how big you want your solar panel, so maybe you use a few dozen to hundreds of soda cans.
Simply, cut the top of each can and remove the fin of the bottom too, this will help to accumulate more heat into the panel because the way of cutting the cans and attaching them creates a turbulent airflow.
Step 2: Glue the soda cans together
After we cut or cans, it’s time to attach them together to build our panel.
Put the soda can one on top of the other and one beside one and then glue them with silicon adhesive till you make a big sturdy block.
The reason we are using silicon adhesive is because of its incredible temperature resistance properties that can withstand temperatures of over 400 degrees Fahrenheit.
Step 3: Build your frame
In this step, we will build the frame which will contain all these cans.
Build a wooden or metal frame of the right size to hold your soda cans, the back can be metal or wood and the front can be glass or polycarbonate to allow maximum sunlight absorption.
Don’t forget to spray cans and the frame with black paint, as it will help your panel to absorb more sunlight.
Step 4: Install the tubes
Simply, install an intake tube at the top of the frame and the outtake one at the bottom of the frame and make sure that you are filling all the gaps in the frame with soda cans or silicon.
Step 5: Test your diy solar panel
Attaching an exhaust fan near the intake tube to take cold air from the room into your panel is the final step.
Connect the second fan to the output tube to return the warmed air to your living area.
How to make a household solar panel with blades

Tools to build a solar panel with blades
- blades
- cardboard
- copper wire
- glue
- Voltmeter
Step 1: Glue the blades
The first step is to glue our blades to the cardboard.
Just put some blades on one side near to each other, do the same step on the other side of the cardboard to make a bifacial diy solar panels
Step 2: Connect the blades together
After we installed our blades now it’s time to connect the blades using copper wires.
All you need to do is to glue a copper wire on the first side of the panel, then repeat the same step for the blades of the other side.
Note: You can connect them using aluminum foil instead of copper wires.
Step 3: Test your panel
now you are having two sides of copper wires, connect them to your voltmeter and make sure that you are putting your panel in a sunny place.
That’s it, now you know how to make a solar panel with household items.
Last Words
As promised, in this article we showed 4 ways to make a solar panel with household items.
In the end, we really hope you enjoyed this article as much as we did and stay tuned for more awesome guides from Solar Energy Hackers.