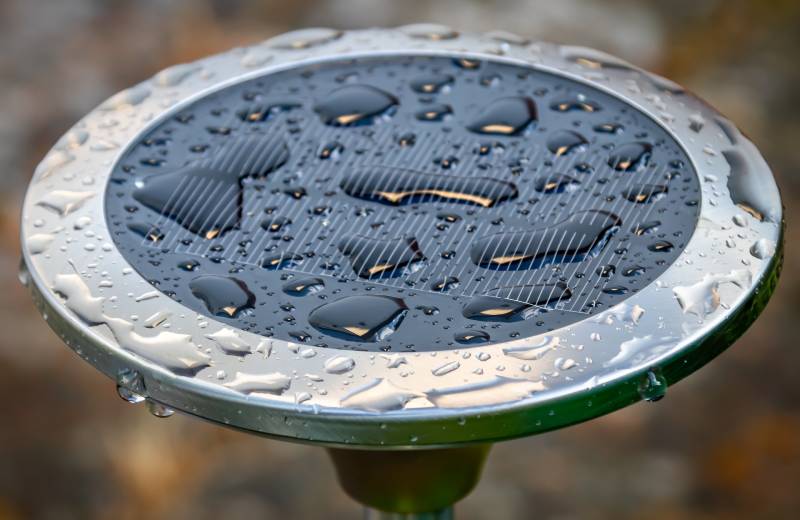
Much like a well-oiled machine, solar outdoor lights require regular care to shine their brightest.
A routine cleaning not only breathes new life into your lights but also safeguards their functionality, sparing you the cost and hassle of premature replacements.
But how exactly do you go from dim to dazzling without damaging these delicate devices?
To do this, gently clean solar panels and cover them with soapy water and a soft brush for stubborn dirt, followed by a rinse and dry to prevent water spots and ensure clarity.
In this guide, I’ll walk you through the step-by-step process of cleaning your solar outdoor lights, from the tools you’ll need to the best techniques for maintaining their performance.
Key Takeaways
- To clean solar outdoor lights, begin with warm water to remove loose dirt, then use a mild detergent for washing and a soft brush for stubborn grime; finish with alcohol for a thorough clean.
- You’ll need some tools such as sandpaper, rubbing alcohol, a soft brush, and detergent, to ensure effective removal of grime and optimal sunlight absorption by the panels.
- To enhance your solar outdoor lighting performance and longevity, follow a cleaning process that includes washing, scrubbing, sanding, and applying a clear coat for protection.
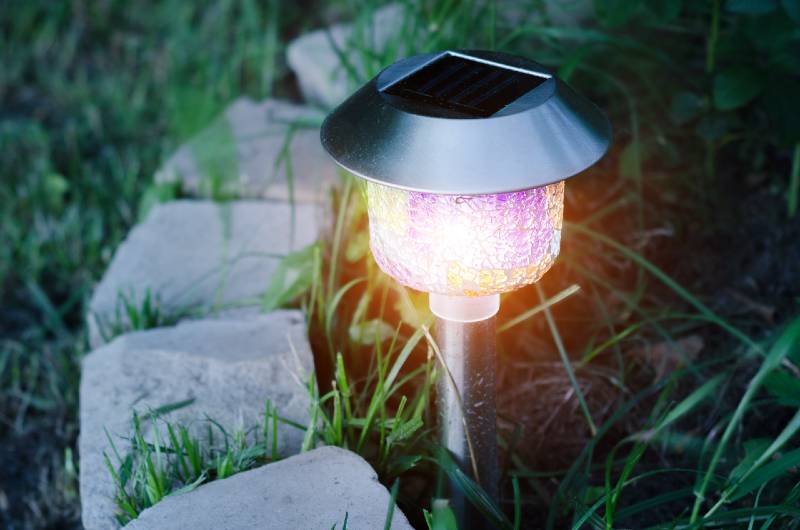
Why Should I Clean My Solar Lanterns?
You should clean your solar outdoor lights now and then to keep them shining bright.
Even though they’re built to withstand the weather, from heavy rain to scorching sun and even snow, they can still get covered in dirt and grime.
If you let that dirt build up too much, you might end up with dim lights and, worse, you could void the warranty or face some hefty repair bills.
When dirt starts to pile up, it’s not just an eyesore; it can cause rust on any metal parts of your solar-powered lights.
So, if you make it a habit to clean them regularly, you’ll catch any issues early on.
Spotting problems before they get serious means easier, cheaper fixes.
But saving money isn’t the only reason to keep your solar panels clean.
When they’re free from dust, leaves, and, yeah, even bird droppings, they can do their job way better.
Clean panels mean more sunlight gets converted into energy, making your garden or walkway brighter at night.
What Tools Do I Need to Clean My Solar Lights?
To clean your solar outdoor lights effectively, you’ll need just a few basic tools and materials that are probably already lying around your house.
Here’s a quick list to get you started:
- Sandpaper: Removes tough dirt and grime buildup on solar panels, enhancing sunlight absorption.
- Alcohol (Rubbing Alcohol): Cleans and disinfects solar cells post-sanding for a cleaner finish.
- Soft Brush (like an old toothbrush): Scrubs off stubborn dirt in crevices and hard-to-reach areas of solar outdoor lights.
- Tape: Protects edges around the solar cell from scratches during the sanding process.
- Piece of Cardboard: Shields areas from overspray when applying a clear coat to solar panels.
- Washcloth or Kitchen Sponge: Initiates the cleaning process by wiping away loose dirt and dust from panels.
- Detergent: Mixed with water, it acts as a gentle cleaning solution to break down and wash away grime.
- Clearcoat: Applied post-cleaning to protect the panels, ensuring longer cleanliness and efficiency.
- Dry Towels: Dries off and buffs solar panels for extra shine, ensuring they’re ready for reassembly.
How to Clean My Solar Lanterns?
To clean your solar outdoor lights effectively, follow these step-by-step instructions:
1. Sprinkle Warm Water: Begin by sprinkling warm water over the top cover of the solar outdoor lights. This helps loosen up the dirt on the solar panels and makes it easier to tackle stubborn grime.
2. Remove Top Cover: Gently remove the top cover from the base of your garden lights for the sake of cleaning solar panels.
3. Wash with Detergent: Using a washcloth or kitchen sponge, wash the top surface with a mixture of mild detergent and water. Avoid using harsh cleaning solutions like bleach.
4. Use a Toothbrush for Stubborn Dirt: For any stubborn dirt, gently brush the surface with a toothbrush, applying light pressure to avoid damaging the solar panel or causing scratches.
5. Rinse and Dry: Rinse off the soap with water and then pat the solar panels dry with a cloth, being careful not to wet the inside of the solar panel lid where the batteries are located.
6. Clean the Base: Move on to cleaning the base of your garden lights, including any globes or fixtures. Wet them first, then clean them with a detergent-soaked washcloth or sponge, handling any breakable materials with extra care.
7. Protect Solar Cell with Tape: Before proceeding to the next cleaning step, tape around the solar cell to protect it from getting scratched.
8. Sand the Solar Cell: Lightly spray water on both a piece of sandpaper and the solar cell’s surface. Gently sand the cell to remove the top layer of grime, keeping it moist throughout the process. Sand at least twice for a thorough clean.
9. Wipe with Alcohol: While the surface is still damp, wipe it down with some alcohol to remove any excess dirt and give the solar panels an extra shine.
10. Apply Clear Coat: Cut a piece of cardboard to fit around the cell as a shield against overspray. Hold the spray can about 12 inches away from the cell and apply a light, even coat of clear coat to avoid dripping. Let it dry before applying a second coat.
Related Article: 12 Reasons Why Your Solar Light Not Working & How To Fix
Related article: Can I Use Higher mAh Battery In Solar Light?
FAQs
How Do You Clean Cloudy Plastic Solar Powered Lights?
To clean cloudy plastic solar-powered lights, wash the panel and bulb with soap and water to prevent grime build-up. For added shine, spray a layer of lacquer on the panel after cleaning.
Does Vinegar Clean Solar Light?
Vinegar cleans solar-powered lights effectively by breaking down grime and dirt build-up on the panels, making it a natural and eco-friendly cleaning solution.
How Do You Revive Solar Garden Lights?
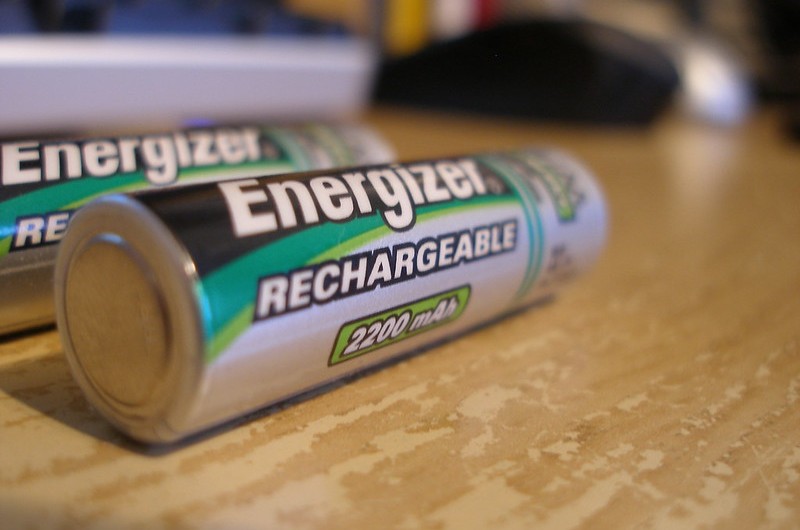
To revive solar garden lights, clean the panels, and check the batteries. If necessary, replace old batteries with new ones of the same type.
Can You Use Rubbing Alcohol to Clean Solar-Powered Lights?
You can use rubbing alcohol to clean solar-powered lights, as it effectively removes stubborn dirt and disinfects surfaces without causing damage.
Last Words
As promised, we’ve covered the essential steps to clean your solar outdoor lighting, ensuring it continues to function at its best and light up your outdoor spaces efficiently.
From the initial rinse to the final protective finish, these maintenance practices enhance your lights’ appearance and extend their lifespan, saving on replacement costs.
If I’d give you only one piece of advice, I’d recommend making solar light cleaning a regular part of your outdoor maintenance routine, ideally every few months.
This simple habit can make a significant difference in how well your solar powered lights function and contribute to the overall ambiance and safety of your outdoor areas.


The best and most sensible advice on the internet on how to clean solar lights. Though I use Bowden’s Own “Three Way” and “Clay Rubber” to remove the contaminants on the panel then spray with clear coat. The soapy water and sandpaper also does a great job. I have also used soapy water and a magic eraser to do clean them also.
Great article.
Thank you <3